

I assembled a SecretLab Chair in only 15 minutes
After considering it for a few good years, I finally relented and purchased the well-marketed SecretLab chair. I know I know, it’s “over-rated”, it’s not as “good” as some other chairs. It’s not as “comfortable” as Herman Miller and so on. But considering the price that people are paying for luxurious gaming/massage hybrid chairs as well as best in class Herman Miller chairs, I would say that the SecretLab chair is actually pretty decent for its price, functionality and looks.

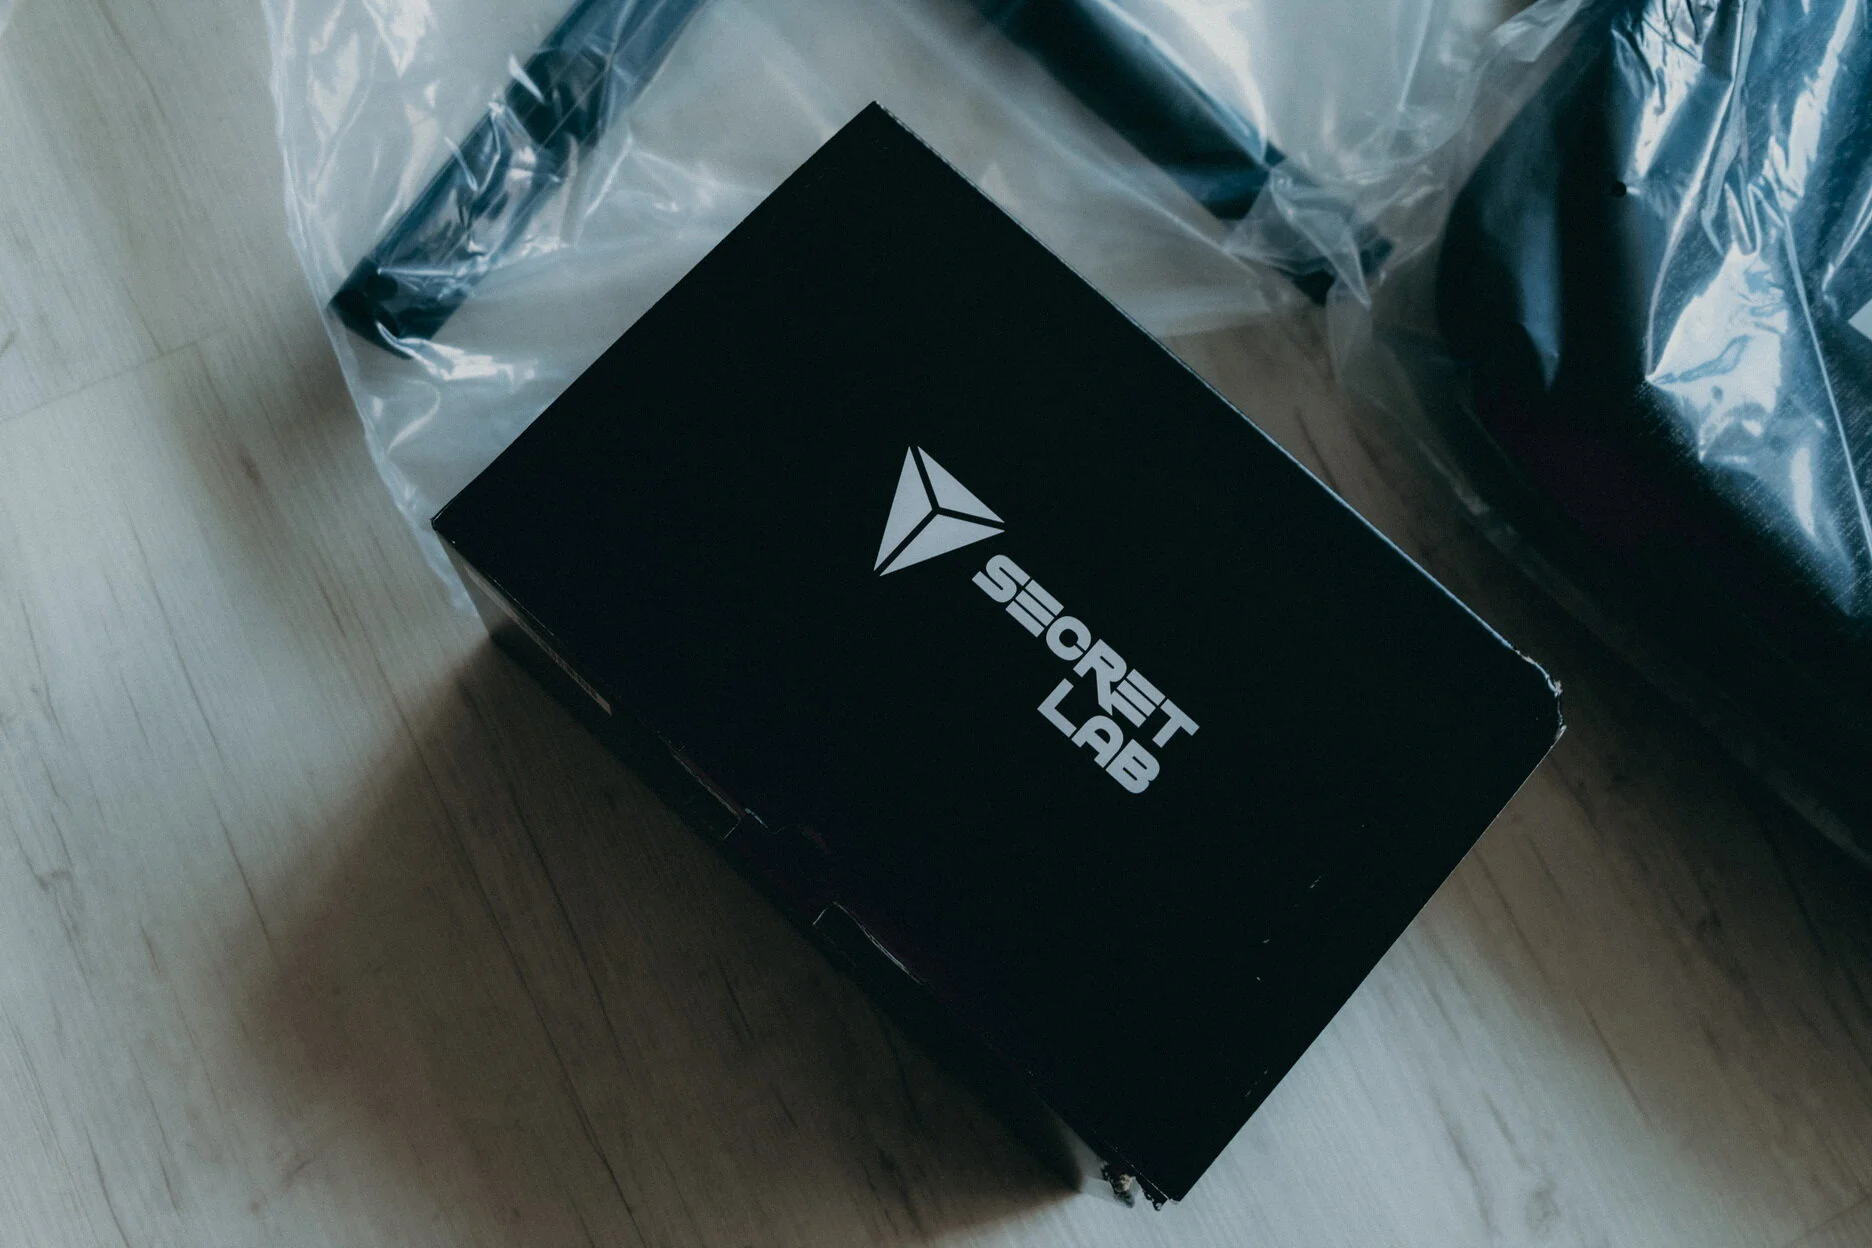
Half expected some random person to jump out from this large box
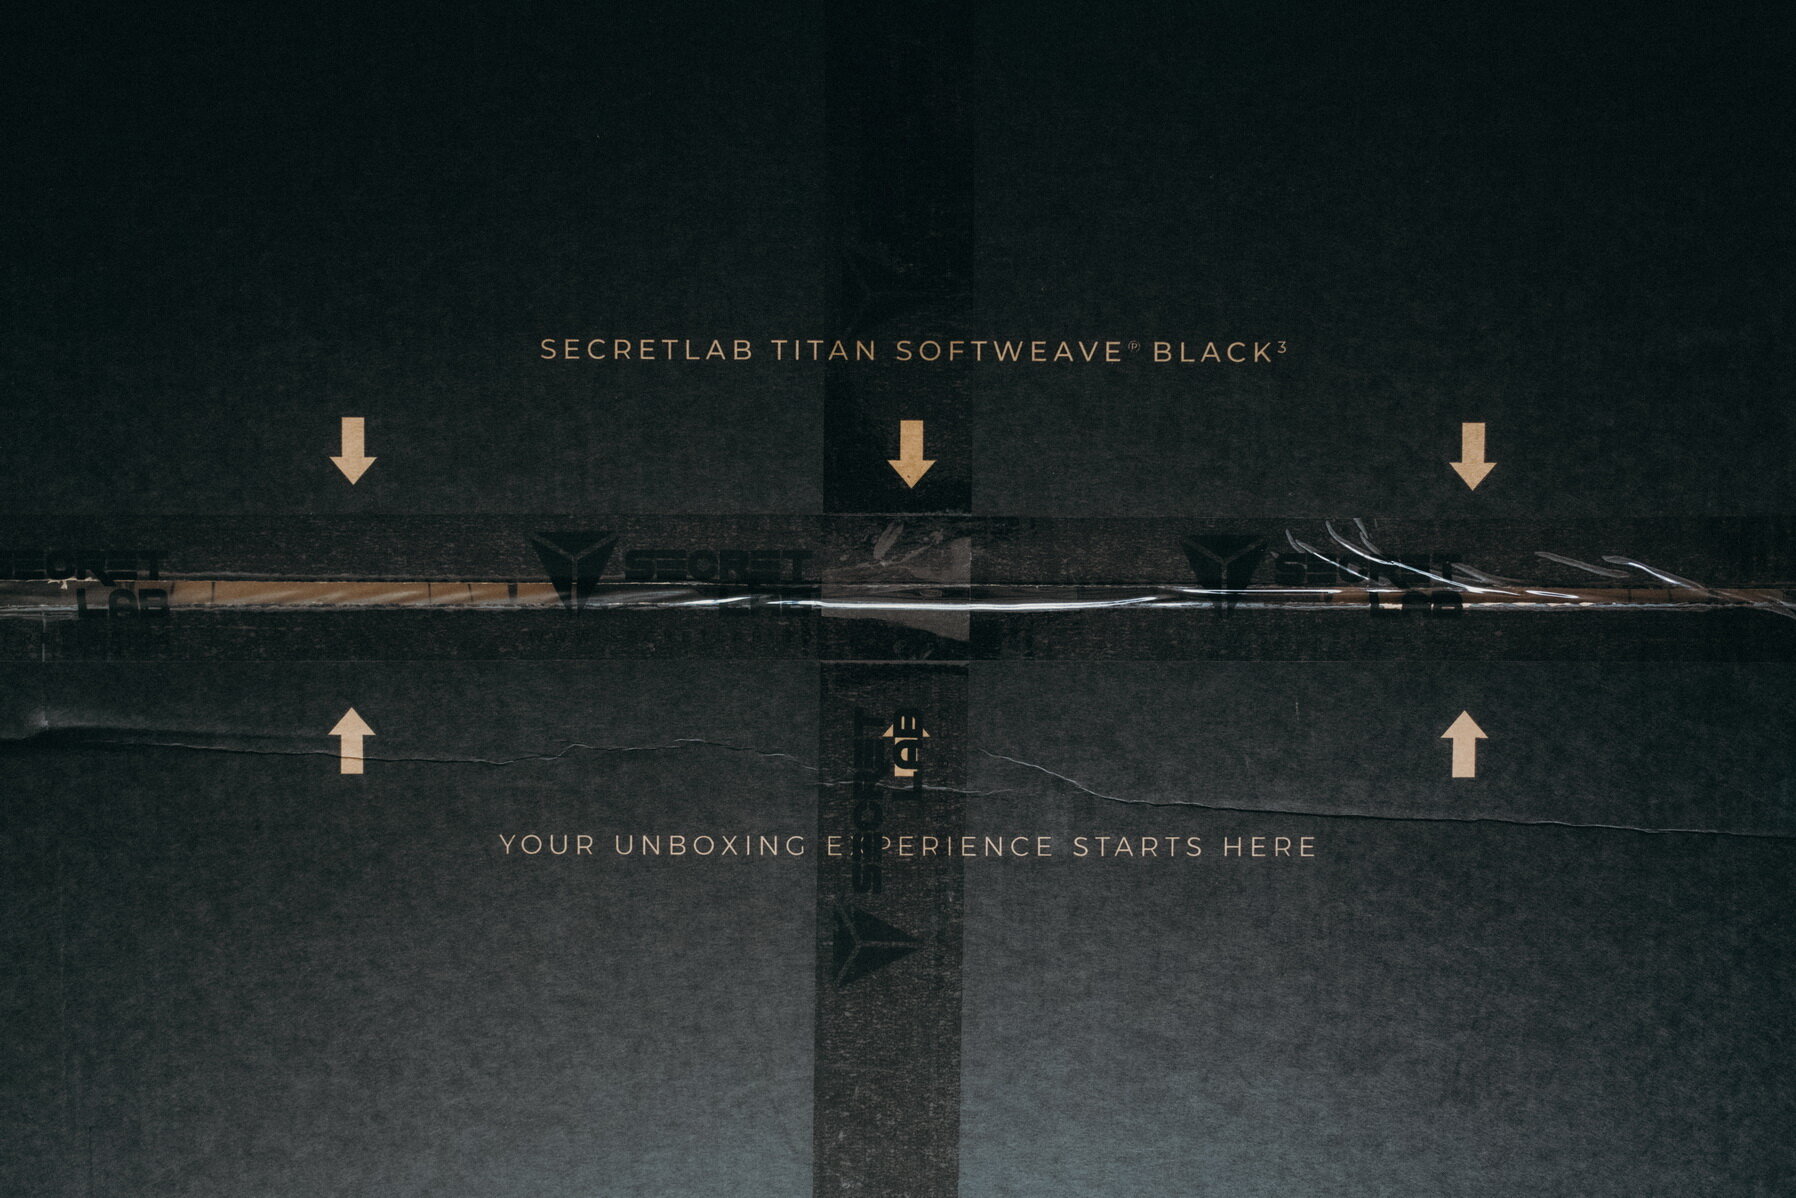
So after doing some online research, and online browsing, I finally settled on the SecretLab Titan Softweave Black3. When the shipment arrived after some delay, I was hugely surprised by how large and heavy the box was. I certainly did not expect it to be so heavy that I had to shove it across the living room instead of lifting it. I was quite used to lighter office chairs until then.
Unboxing it was quite an experience. It had ‘premium’ and ‘professionalism’ written all over it.
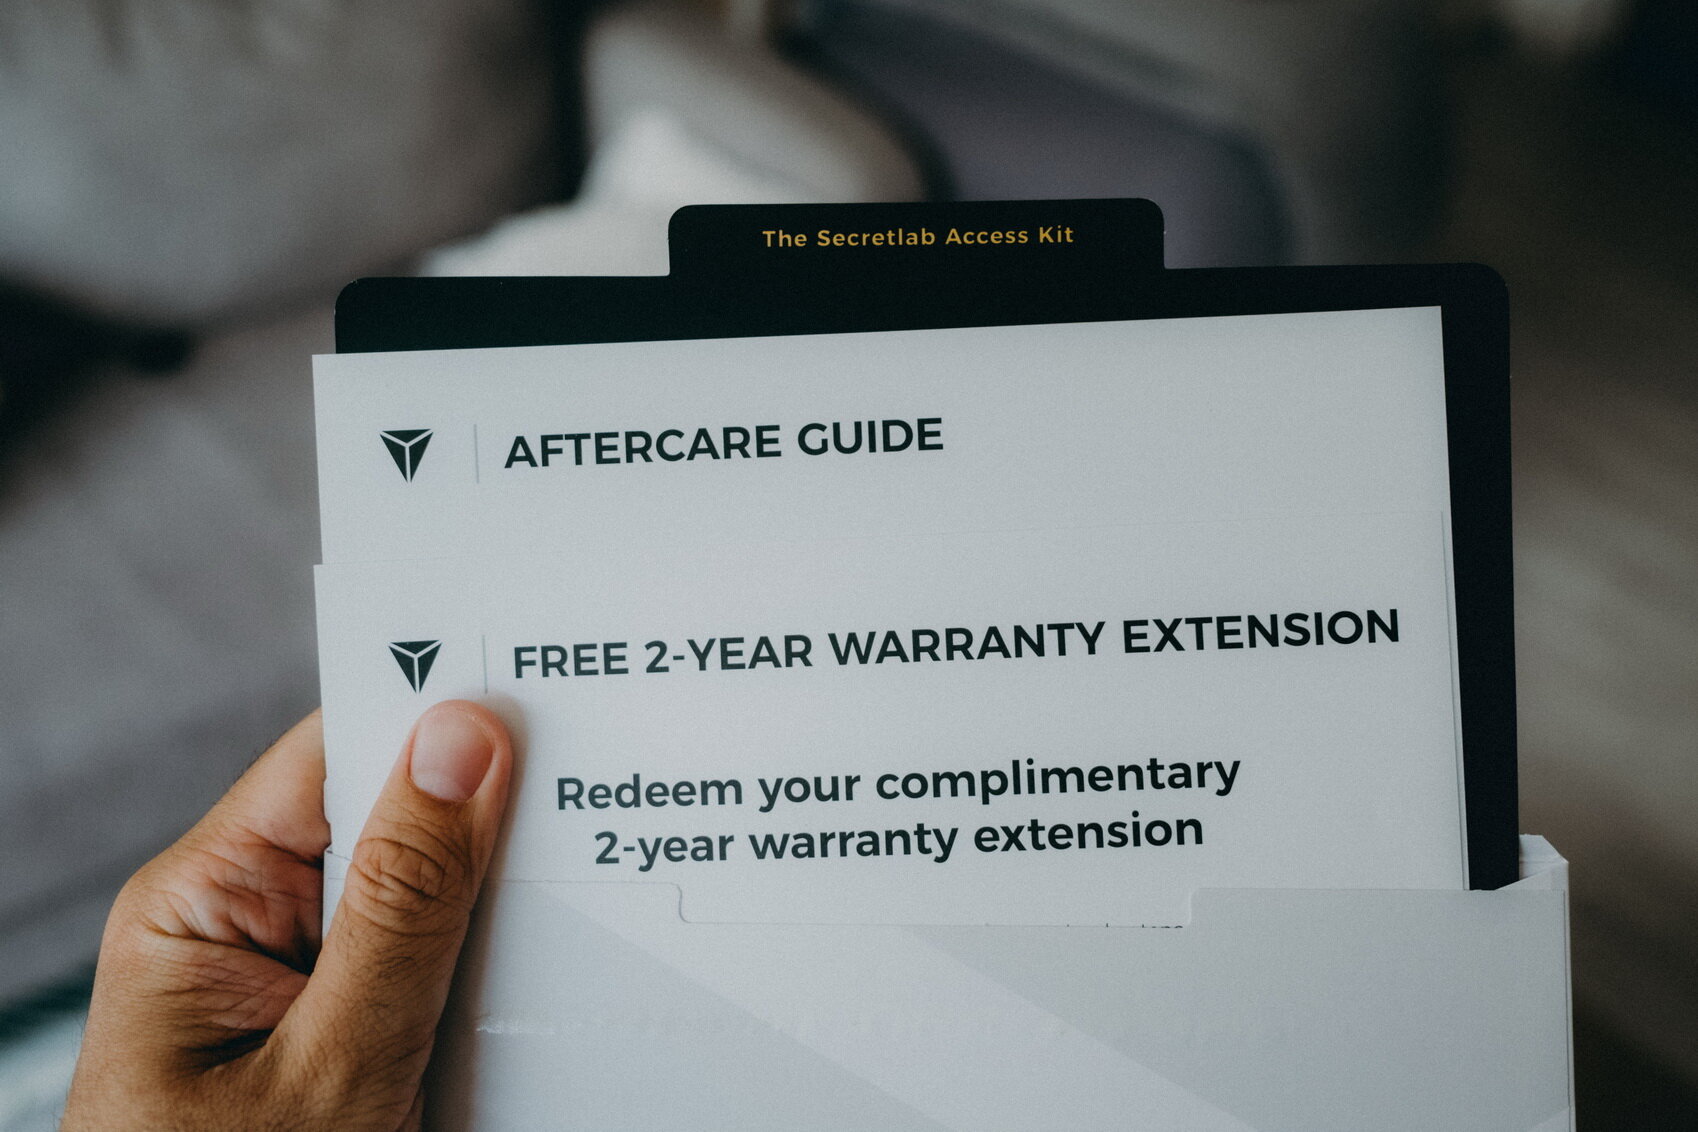


The welcome flap also served as the assembly guide
All of the parts from the little roller wheels to the screwdriver to the hydraulic piston just screams expensive to me. They were built with quality. It felt weighty, sturdy and looked attractive. You felt like you were assembly a vehicle.

First up, the wheel base


Even the wheels came in a premium case box. Colour me impressed! Next up, lining up all the parts in order to be assembled.


Assembling the back rest and the seat is actually easier than it seemed. It is connected by four screws, so you’ll only have to unscrew it, put the two together, and then screw it back with the Allen key that came provided.

Screws to connect the back rest and the seat


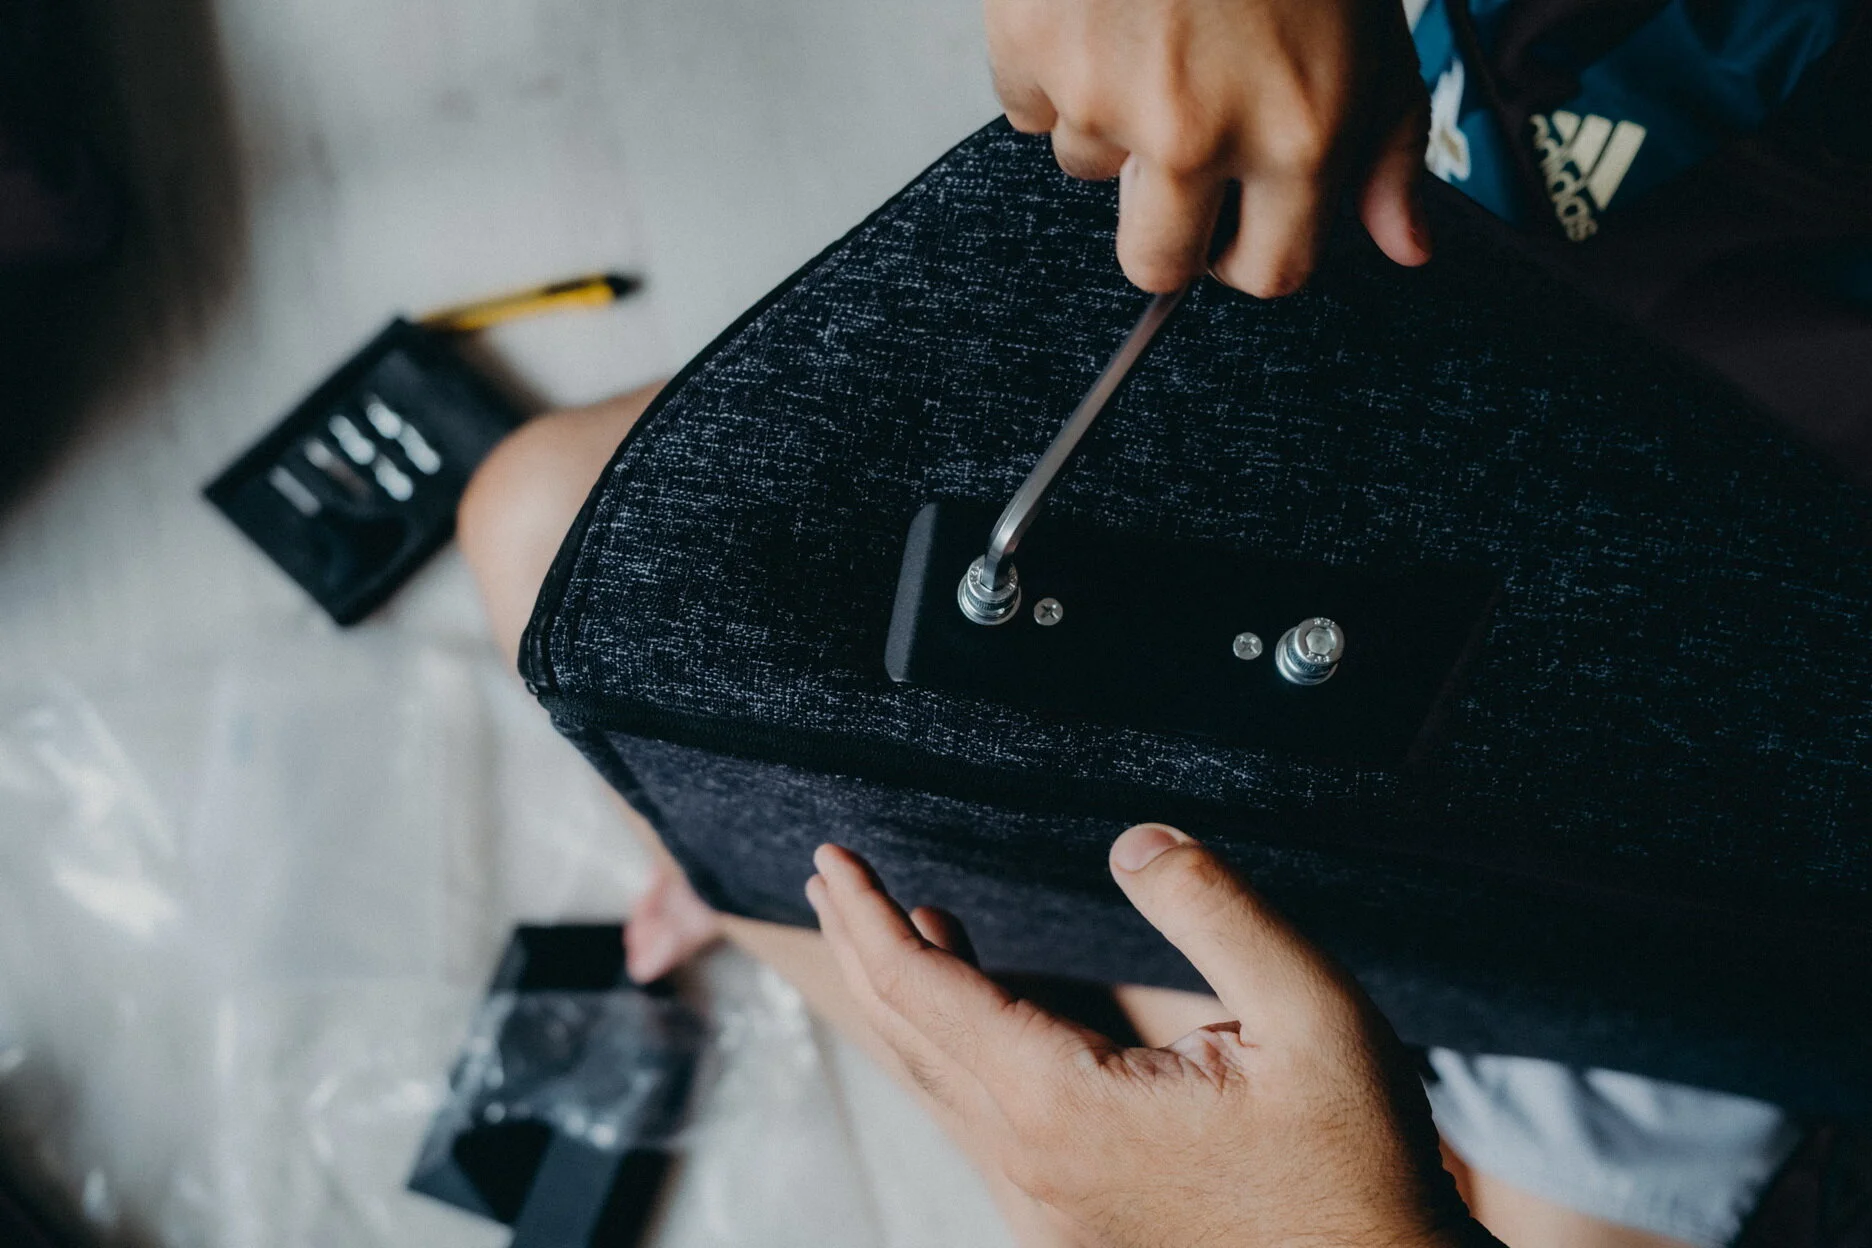


After connecting the seat, we move on to the bottom part, which is the tilting mechanism. Again, it’s as simple as screwing on the four screws that came provided with the screwdriver.


And after inserting the wheel base, we’re all set. Yep it’s that easy.

Fabric. It will not make your butt sweat
So initial thoughts after using it for a week is that it is actually pretty comfortable, coming from a person who has used cheap chairs all his life. Reviewers had mentioned that it’s not built to be comfortable, but I actually found it to be, especially when I’m seated in a straightened posture for the long hours of editing that I have to do. The lumbar support/knob is a lifesaver as I always had back problems. And that was also the key reason why I went ahead finally to purchase this chair.
The chair does become warm if you do not have a fan pointed at you after long hours of sitting on it. Thankfully, that’s not a problem for me.
The chair also comes with a memory foam neck rest, I chose not to use it as I found it to not be as comfortable especially when I’m sitting straight during editing. However, when I’m leaning back to watch movies or football, that’s when it comes in handy. A real plus.


All in all, I actually found sitting on this chair for the long hours of editing I have to do, pretty refreshing. No longer do I feel a backache after editing, and it just gives me a much-needed boost to clear the backlog of editing. Less procrastinating, and more working!


What are your thoughts on the chair? Over-rated? Expensive? Good? Comfortable? Let me know your thoughts in the comment section below!
—
Images shot on Fujifilm X100V